Create a Scrolling Screenshot Effect: Elementor, CSS, Javascript (No Plugin)
To showcase the full page design with a screenshot, you can create a scrolling preview effect in Elementor. This can be done with a little bit of code and without an additional plugin.
When creating a scrolling screenshot preview in Elementor, you’ll need to add custom CSS and Javascript. You’ll also need to take a screenshot of your target site and insert that into an Elementor container.
The following tutorial will help you create the scrolling screenshot effect using Elementor. I’ve included the custom CSS and Javascript and a link to my demo site showing how this effect looks on a live site.
For this tutorial, we’ll jump past the styling of the boxes. To see the tips for styling the boxes (shadow, padding, backgrounds) start the following video at the beginning.
For adding the scroll effect, you should start the video at 8:36.
Here’s how to add a custom hover effect to an Elementor container.
Create Scrolling Portfolio Screenshot Effect
Here’s how to make a scrolling screenshot effect using Elementor and some custom CSS and Javascript.
This can be done in a small or large box.
Step 1: Add CSS Classes
To make the CSS and Javascript work, you’ll need to tell them which elements to affect.
- Click on your image. In the Elementor menu, go to Advanced > Layout > Position > CSS Classes. Enter the Image Class: website-img
- Select your container. In the Elementor menu, go to Advanced > Layout > Position > CSS Classes. Enter the Box Container: website-box
Here are the CSS classes to use on your page.
Image Class: website-img
Box Container: website-box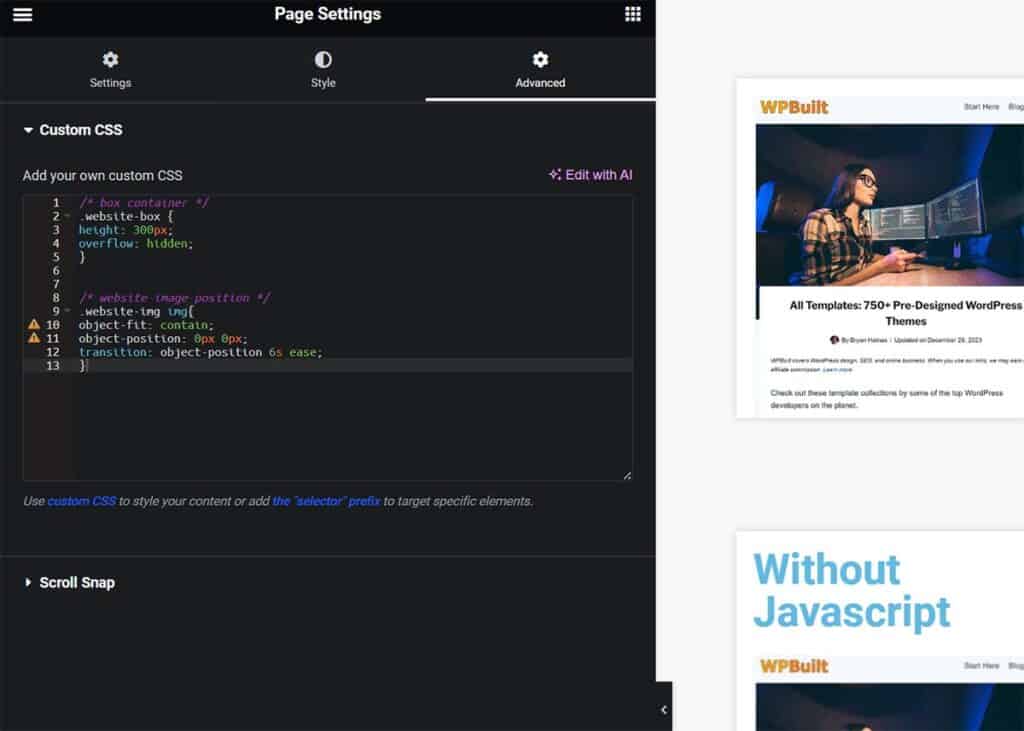
Step 2: Enter Custom CSS
You have two ways to do this in Elementor: Free and Pro.
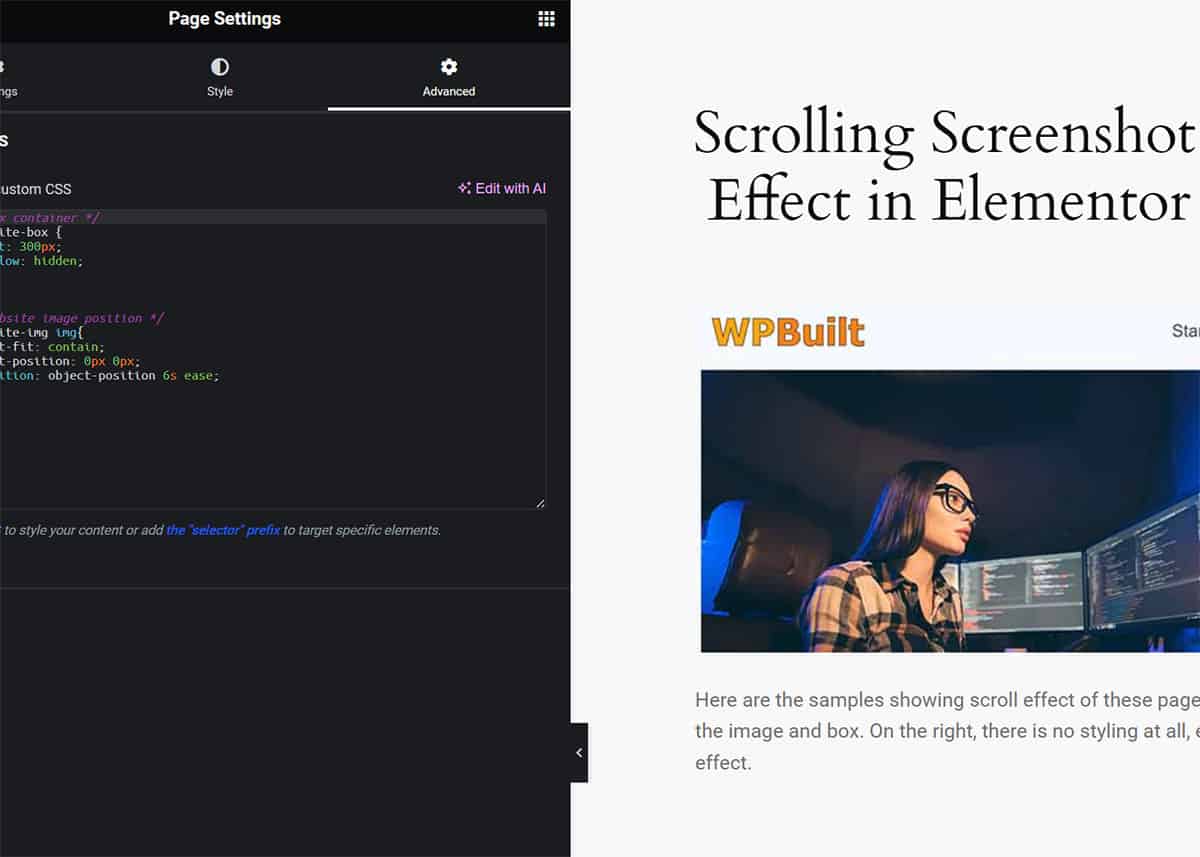
- Elementor Pro: In the Elementor menu, under Page Settings, go to Advanced > Custom CSS. Copy and paste the CSS in the code box below.
- Elementor Free: If you don’t have Elementor Pro, here’s how to do it. In Elementor, go to the main site (outside of Elmentor) go to Customize > Additional CSS. Copy and paste the CSS in the code box below.
Here is the CSS to style your images. This will control the height and transition speed.
/* box container */
.website-box {
height: 300px;
overflow: hidden;
}


/* website image position */
.website-img img{
object-fit: contain;
object-position: 0px 0px;
transition: object-position 6s ease;
}
But you won’t see the scroll effect yet, because you still need to add the Javascript.
Need help getting a good screenshot? Try screenshotmachine.com It’s free for up to 100 screenshots per month.
Step 3: Add Javascript
The final step in the process is to copy and paste the following Javascript.
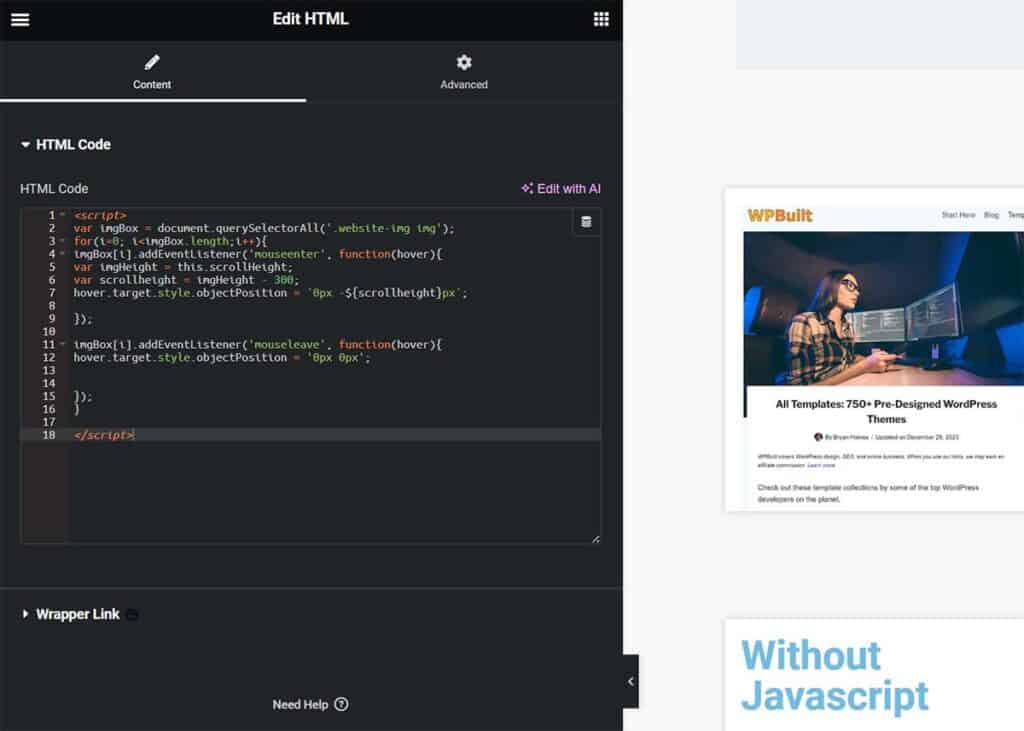
Create a new container (or section) and add an HTML element. Then copy/paste the following Javascript to add a scrolling effect.
<script>
var imgBox = document.querySelectorAll('.website-img img');
for(i=0; i<imgBox.length;i++){
imgBox[i].addEventListener('mouseenter', function(hover){
var imgHeight = this.scrollHeight;
var scrollheight = imgHeight - 300;
hover.target.style.objectPosition = `0px -${scrollheight}px`;

});

imgBox[i].addEventListener('mouseleave', function(hover){
hover.target.style.objectPosition = '0px 0px';


});
}

</script>
And there you have it. You should have a basic, functioning screenshot scroll on your page.
See how these look on my demo site. Code: urielsoto.com
Of course, all details of this process can be customized. Taking a few minutes to customize the image will make a notable difference. You can also customize the image height (default is 300px) and transition speed.

Your turn
How did it go for you? Were you able to successfully create the scrolling effect for your site screenshots? Have a tip to share? Please share it below!