How to Make Parallax Backgrounds in Elementor
Parallax backgrounds add interest and depth to an otherwise basic webpage. And while it looks complex to create, it is surprisingly easy to make parallax backgrounds in Elementor.
How to Make Parallax Backgrounds in Elementor
For this process, you’ll need to have Elementor installed and an image prepared for upload. Here’s how to make a parallax effect on your Elementor background.
Step 1: Open Your Page
To begin, you’ll want to open the page that you’ll customize with the parallax background.
Please Note: Make sure that you’re editing with Elementor. You can either 1) click Edit with Elementor in the page list or 2) click the large blue Edit with Elementor button while editing the page.
Step 2: Select Your Container
The feature is applied to the container (section) as a whole. Make sure to select the full section/container that you want to apply this effect to.

Step 3: Edit Container Settings
Now it’s time to add the parallax effect.
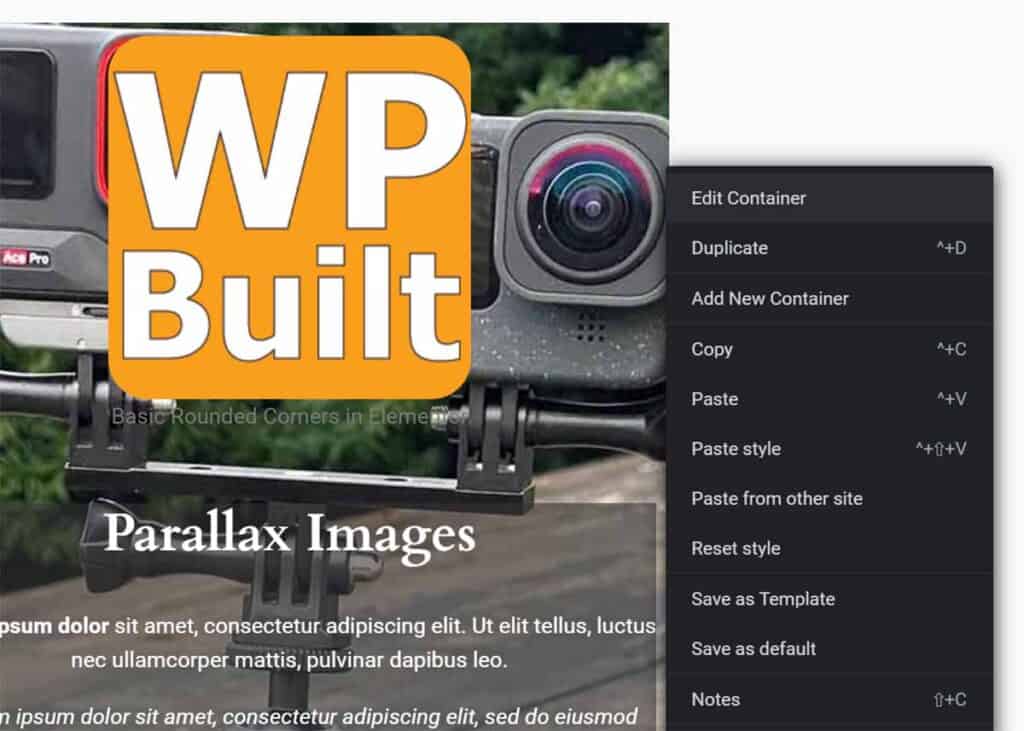
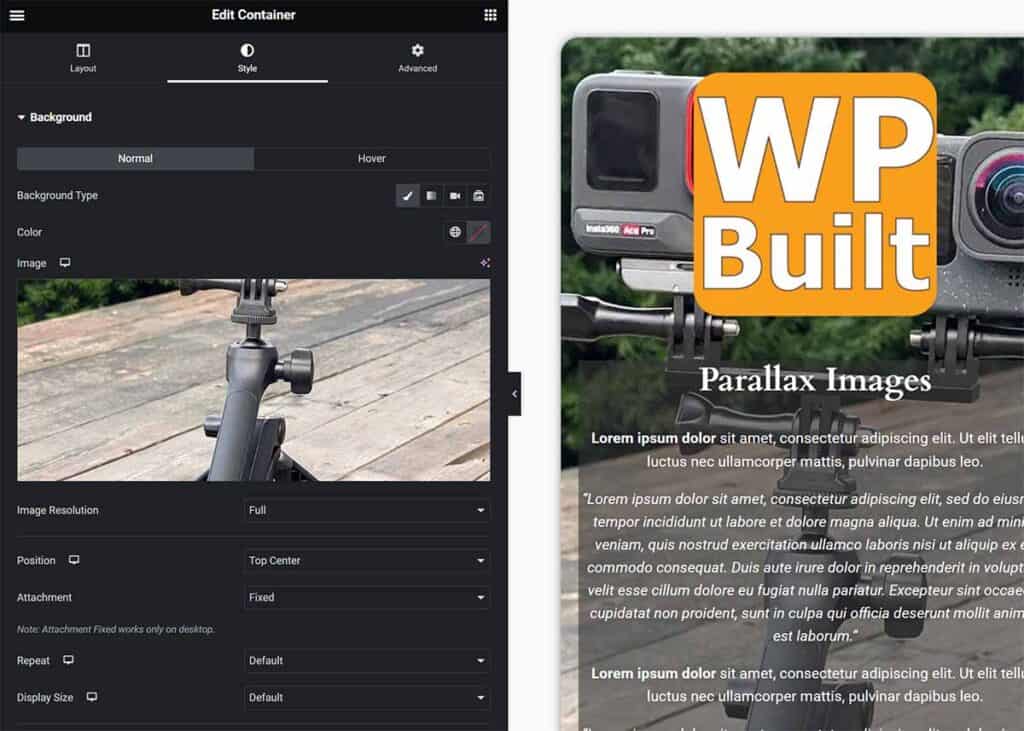
- Right-click on the container bounding box and click Edit Container.
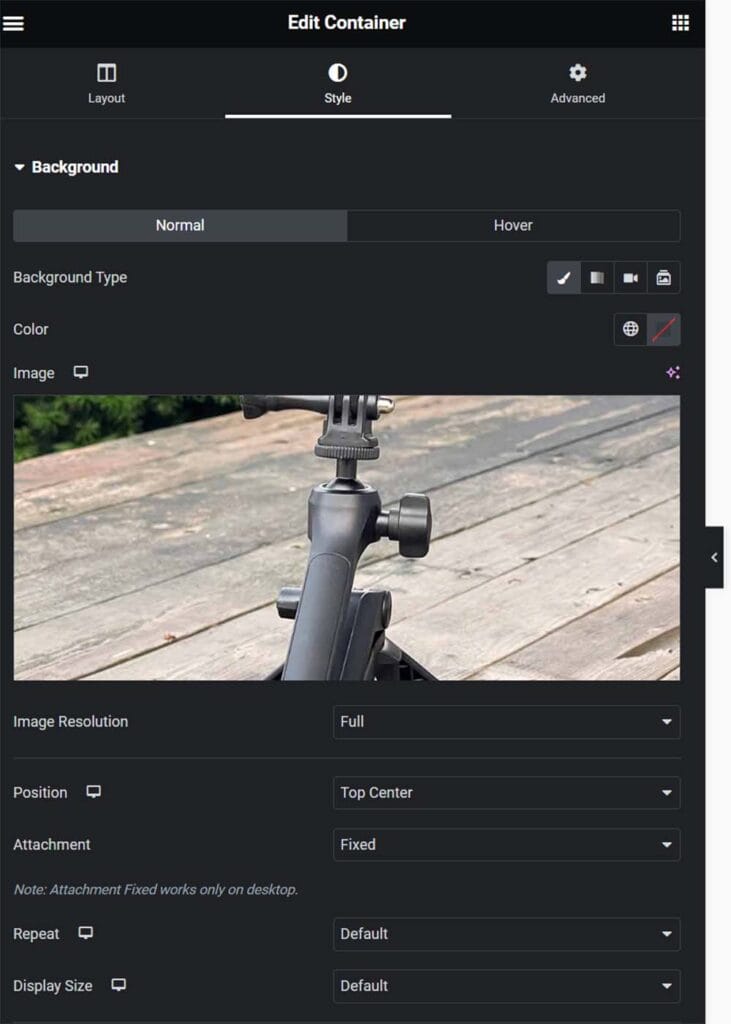
- Go to the Style tab (top middle) of the widget.
- Background > Background type: Classic
- Background > Image: Upload your photo
- Background > Attachment: Fixed
Please note: This parallax feature (Attachment Fixed) will only work on desktop computers.
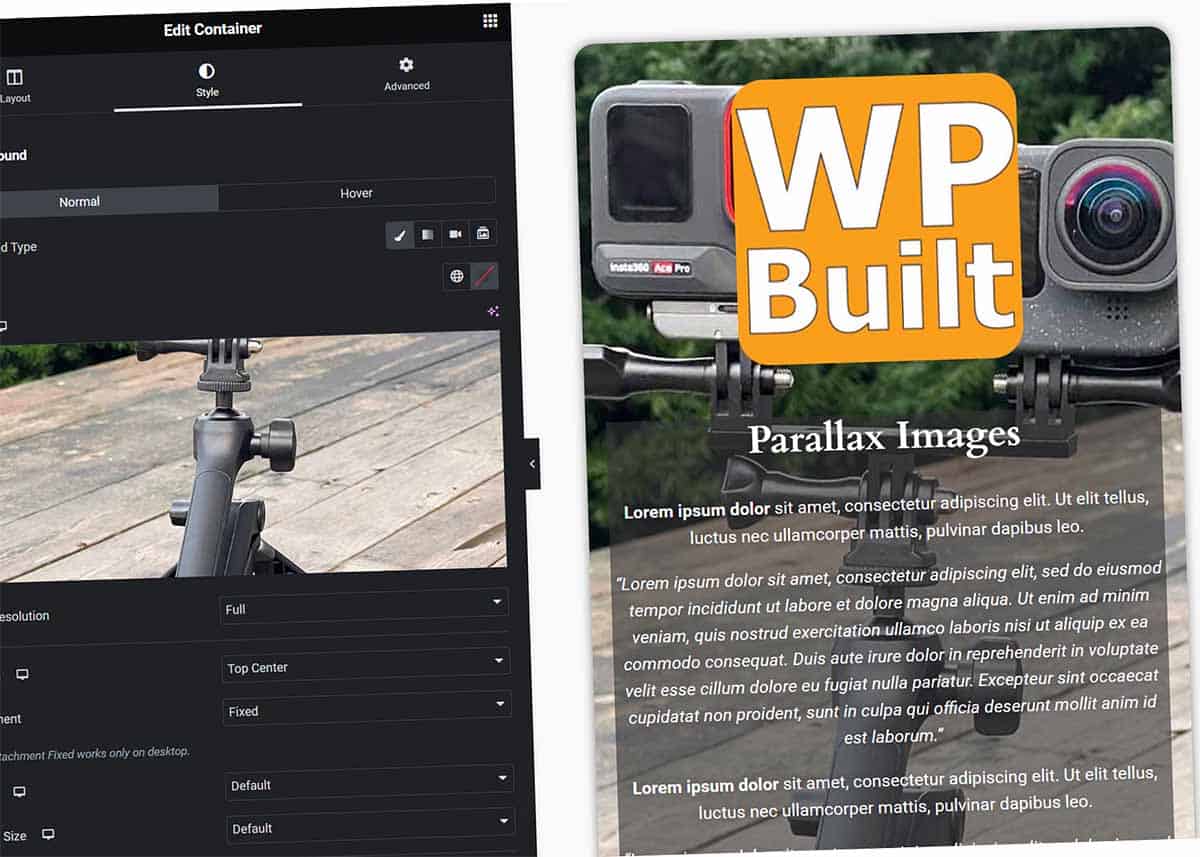
Here’s an example of how this looks.

Step 4: Tweaking and Appearance
To tweak the appearance of the image, you can go to Advanced > Layout. You can adjust Padding to help balance the contents of the container with the background image.
As an alternative, you can modify the height of the image and make it responsive. Just select Advanced > Layout and select Fit to Screen, under height drop-down menu.

Here’s how to custom code parallax with CSS.
Your turn
How did your parallax effect turn out? I would love to hear your tips and experience below!

