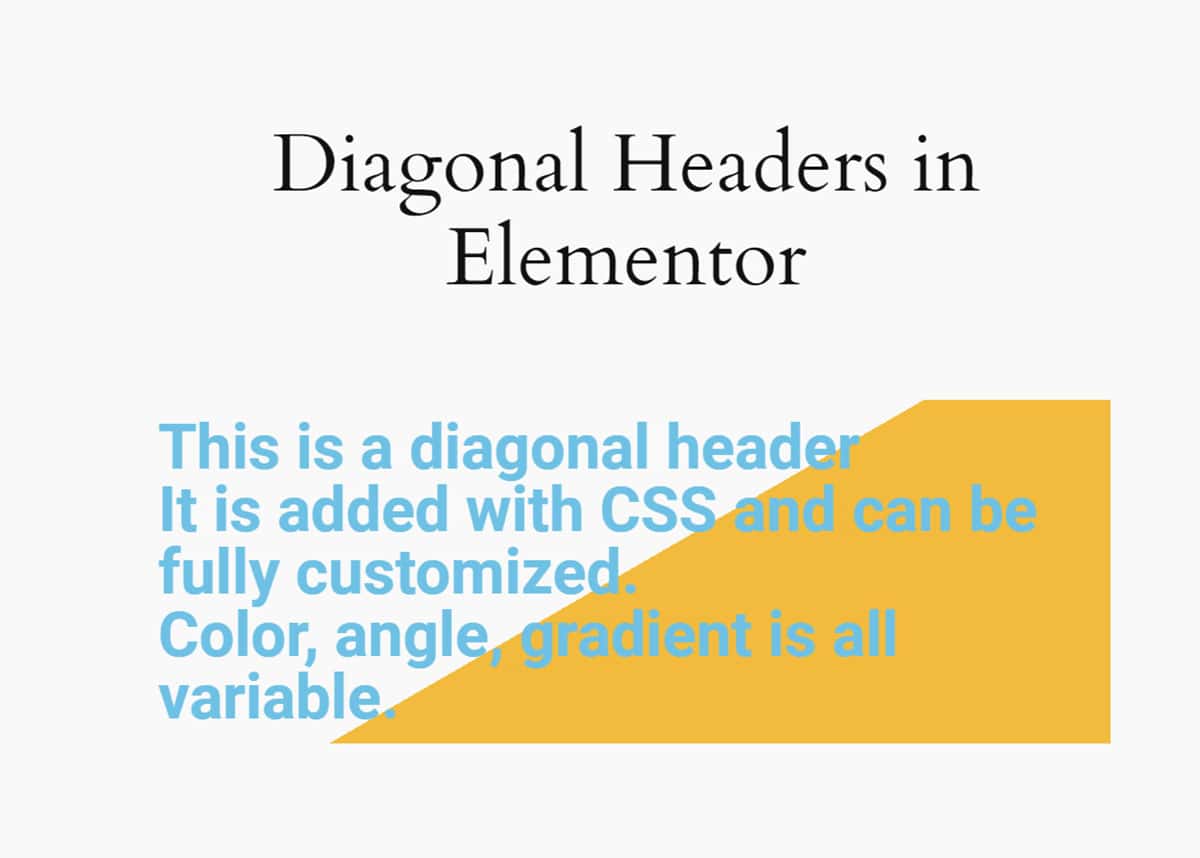
Create Diagonal Headers in Elementor: 4 Easy Steps
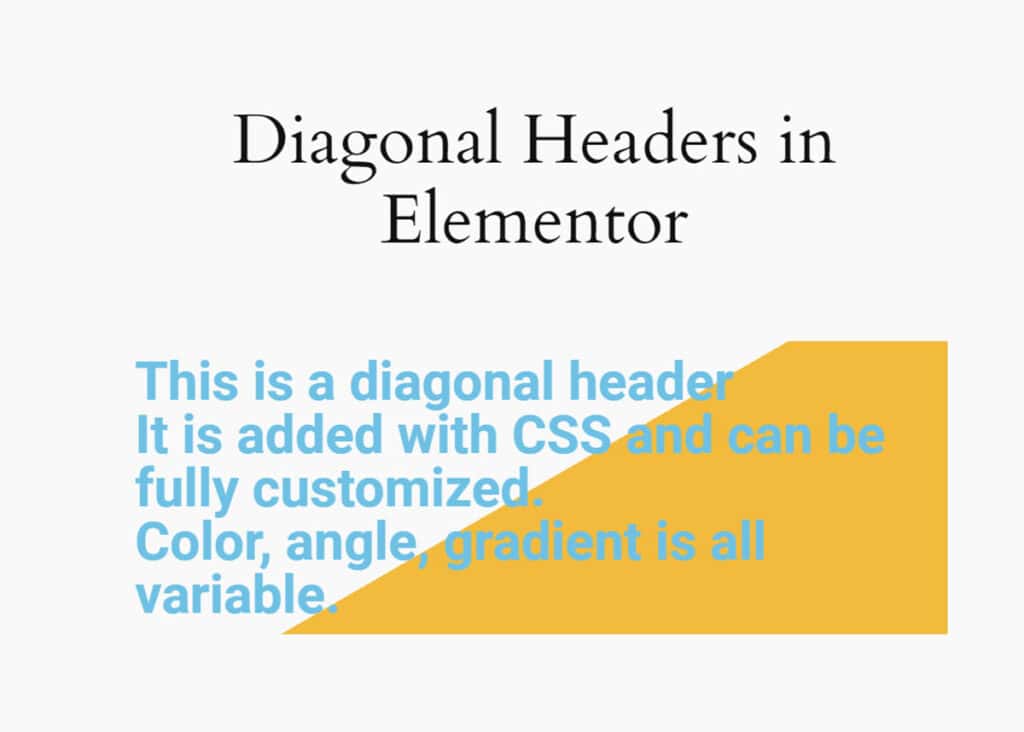
Here are the four easy steps to create diagonal headers in Elementor. This will take just a couple of minutes with the included CSS.
Step 1: Create Your Section and Column
Create your Elementor section (or container).
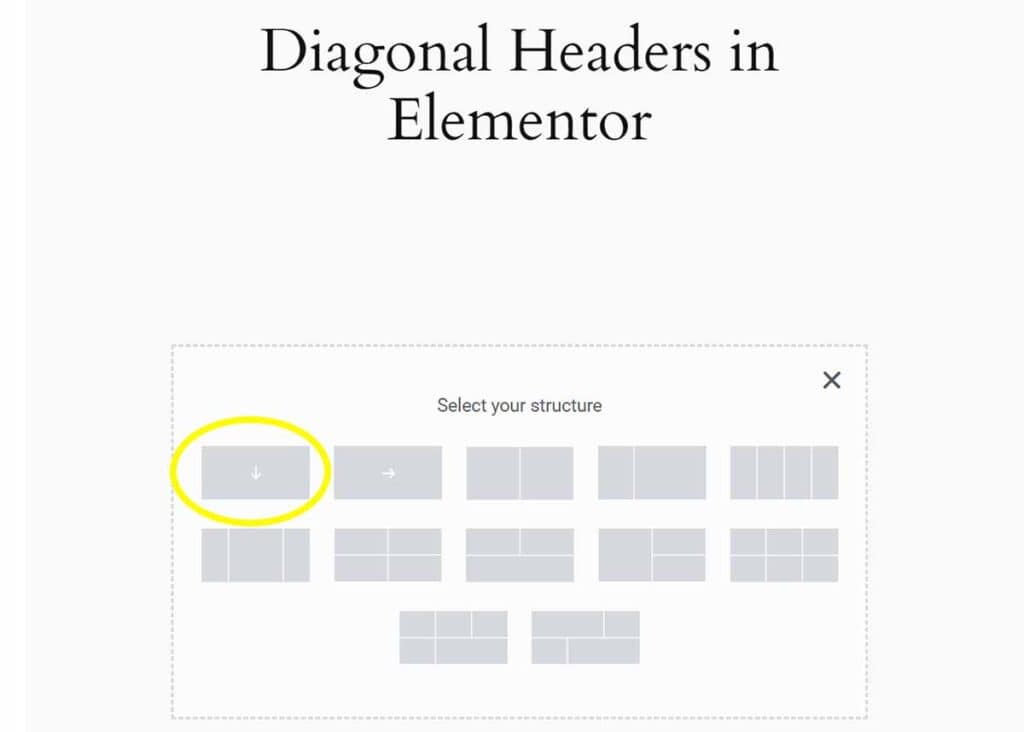
Next, add a one-column structure.
Step 2: Add Nav Menu Widget
From the Elementor left panel, select the Nav Menu widget and drag it to your structure.
This customization can also be added to the container (section) as a whole.
Step 3: Add Class to the Column Structure
To associate your CSS code with the correct structure and widget, you’ll want to right-click on your container and click Edit.
Go to Advanced > Layout > CSS Classes. While you can choose a custom class, this is the one I chose for the CSS in the final step.
nav-diagonal-header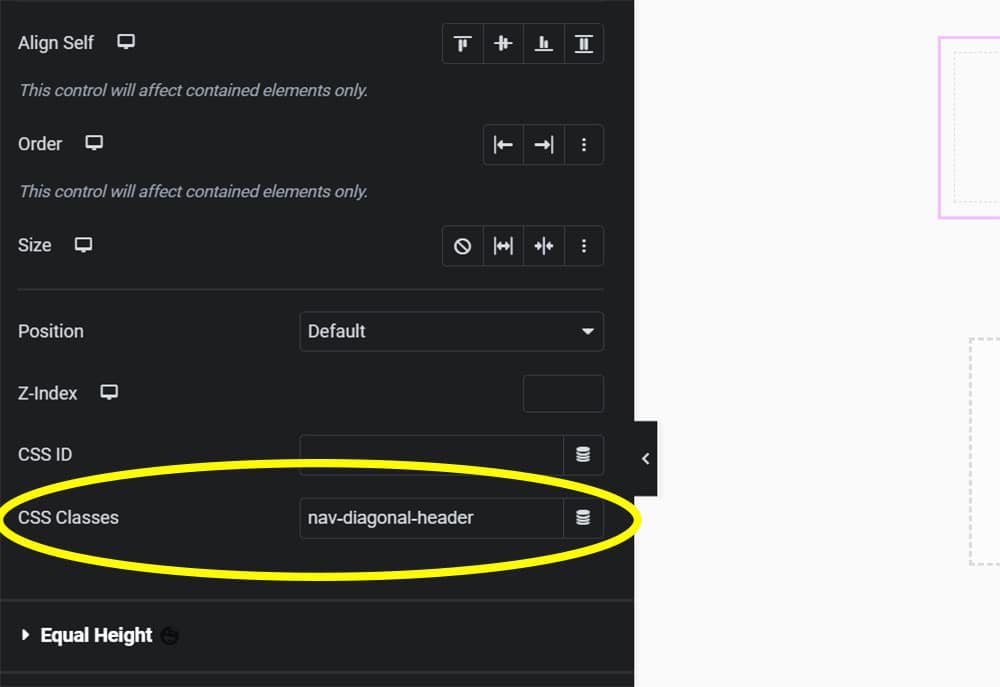
Step 4: Add CSS
The final step is to copy/paste the following CSS here: Advanced > Custom CSS.
.nav-diagonal-header{
background-image: linear-gradient(150deg,rgba(255,255,255,0) 50%,#F3BB3D 15%);
}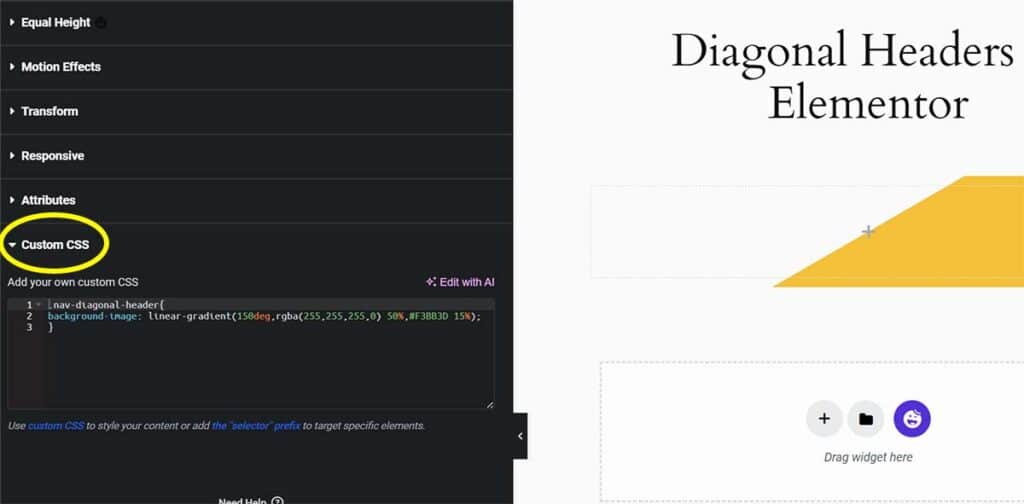
Here’s how my settings look on my demo page.
The colors (hex code), gradient percentages, and angles can all be customized.
More Diagonal Tutorials for Elementor
If you like diagonal elements on your pages, these two additional tutorials should be of interest.
First, here’s how to add a solid diagonal separator without CSS.
And here’s how to create diagonal containers that move up and down on page scroll.
More skills: Here’s how to add a custom hover effect to an Elementor Container.
This guide is part of our large library of WordPress and Elementor tutorials.
Your turn
How did this process go you for? Have a tip or great piece of CSS to share? I would love to hear from you!

