Create a Stacked Column Using Elementor (Inner Section Widget)
Creating stacked and nested columns within a section is a great way to create and present page information.
The best way to create a stacked column is with the Inner Section Widget in Elementor. Here’s how to do it.
How to Create a Stacked Column Using Elementor
Step 1: Create a section
You can create this new section on a new page or existing page. Just click the plus sign inside of the Elementor editor.
Step 2: Add your structure
Next, you’ll add your structure. For this demo, I’ve chosen a one-column structure.
This will be the easiest way to learn the basics of stacked columns.
Step 3: Add Inner Section Widget
Now this is where it gets good. In the Elementor widget panel (to the left) select Inner Section Widget and drag it to your new column.
Step 4: Built out the Inner Section
Now you can start designing. You can add a new column to the Inner Section by copying/pasting the parent column.
What if you can’t find Sections and Inner Sections?
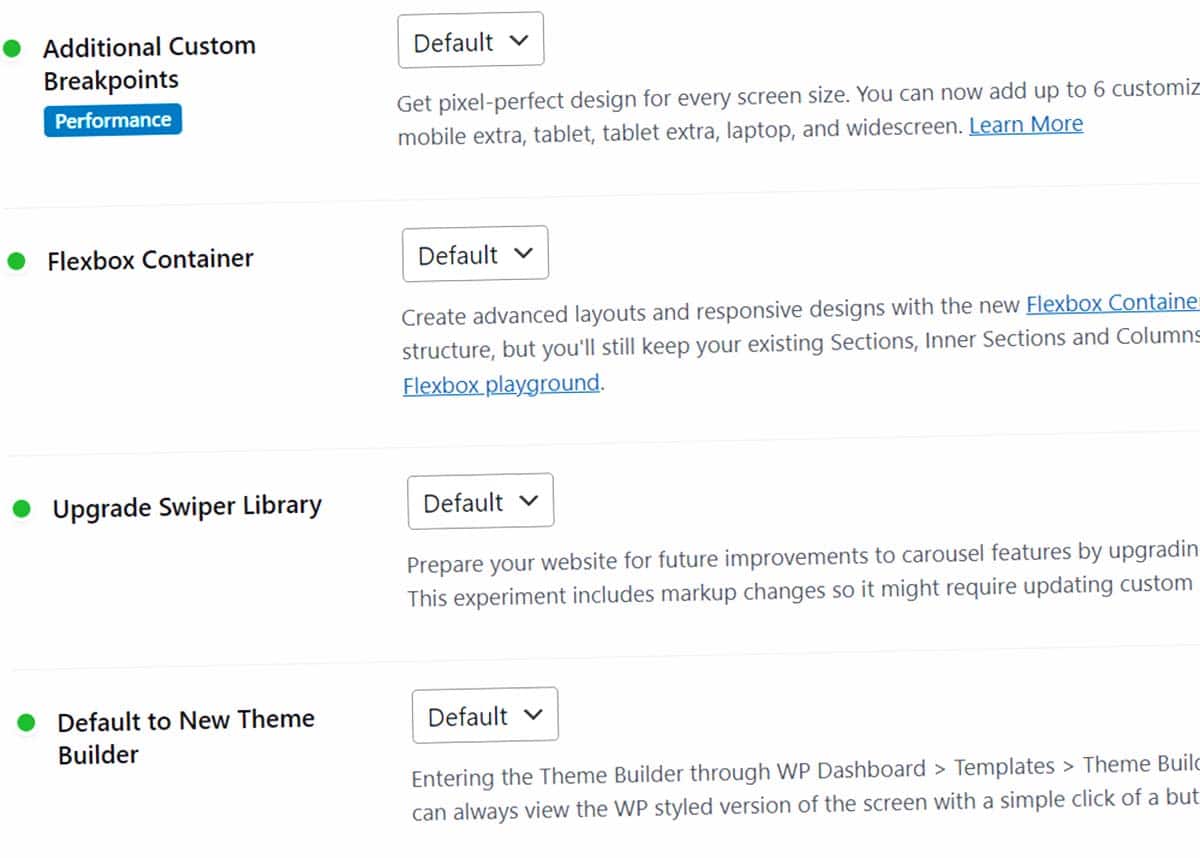
If you can’t find Sections and Inner sections, you may have Containers activated on your website.
Sections and Inner Sections aren’t available with Containers, because you control the layout settings from Containers. To see if Containers are active, go to WordPress Dashboard > Elementor > Settings > Features and check if Flexbox Container is set to Active.


How to Use Inner Section Widget
Here is a great video tutorial to show the specifics of using the Inner Section widget.
More Elementor column skills: Set equal column height and reverse column order on mobile.
Your turn
How did your stacked columns turn out? Were you able to successfully nest and stack columns? Please share your questions and tips below!

